Custom maps not only make a site or app look special, they help you tell a deeper and richer story with data. And what is cartographic design but a branch of visual storytelling?
This tutorial will walk you through making a map with simple markers. You can see the resulting code pen here. You can see an example of a more complex map – one that involves custom markers, custom controls, and a custom map style – here.
I’m not using any JavaScript frameworks or any APIs outside of Mapbox and Leaflet. Neither has any external dependencies. Both are open source.
A map like this takes very little coding experience. If you can build a simple webpage, you can make a map!
Before you get started
- Create a free account with Mapbox
- Create files for a web project – index.html, style.css, and main.js are all you’ll need
Part 1: Choose and Select a Map Style
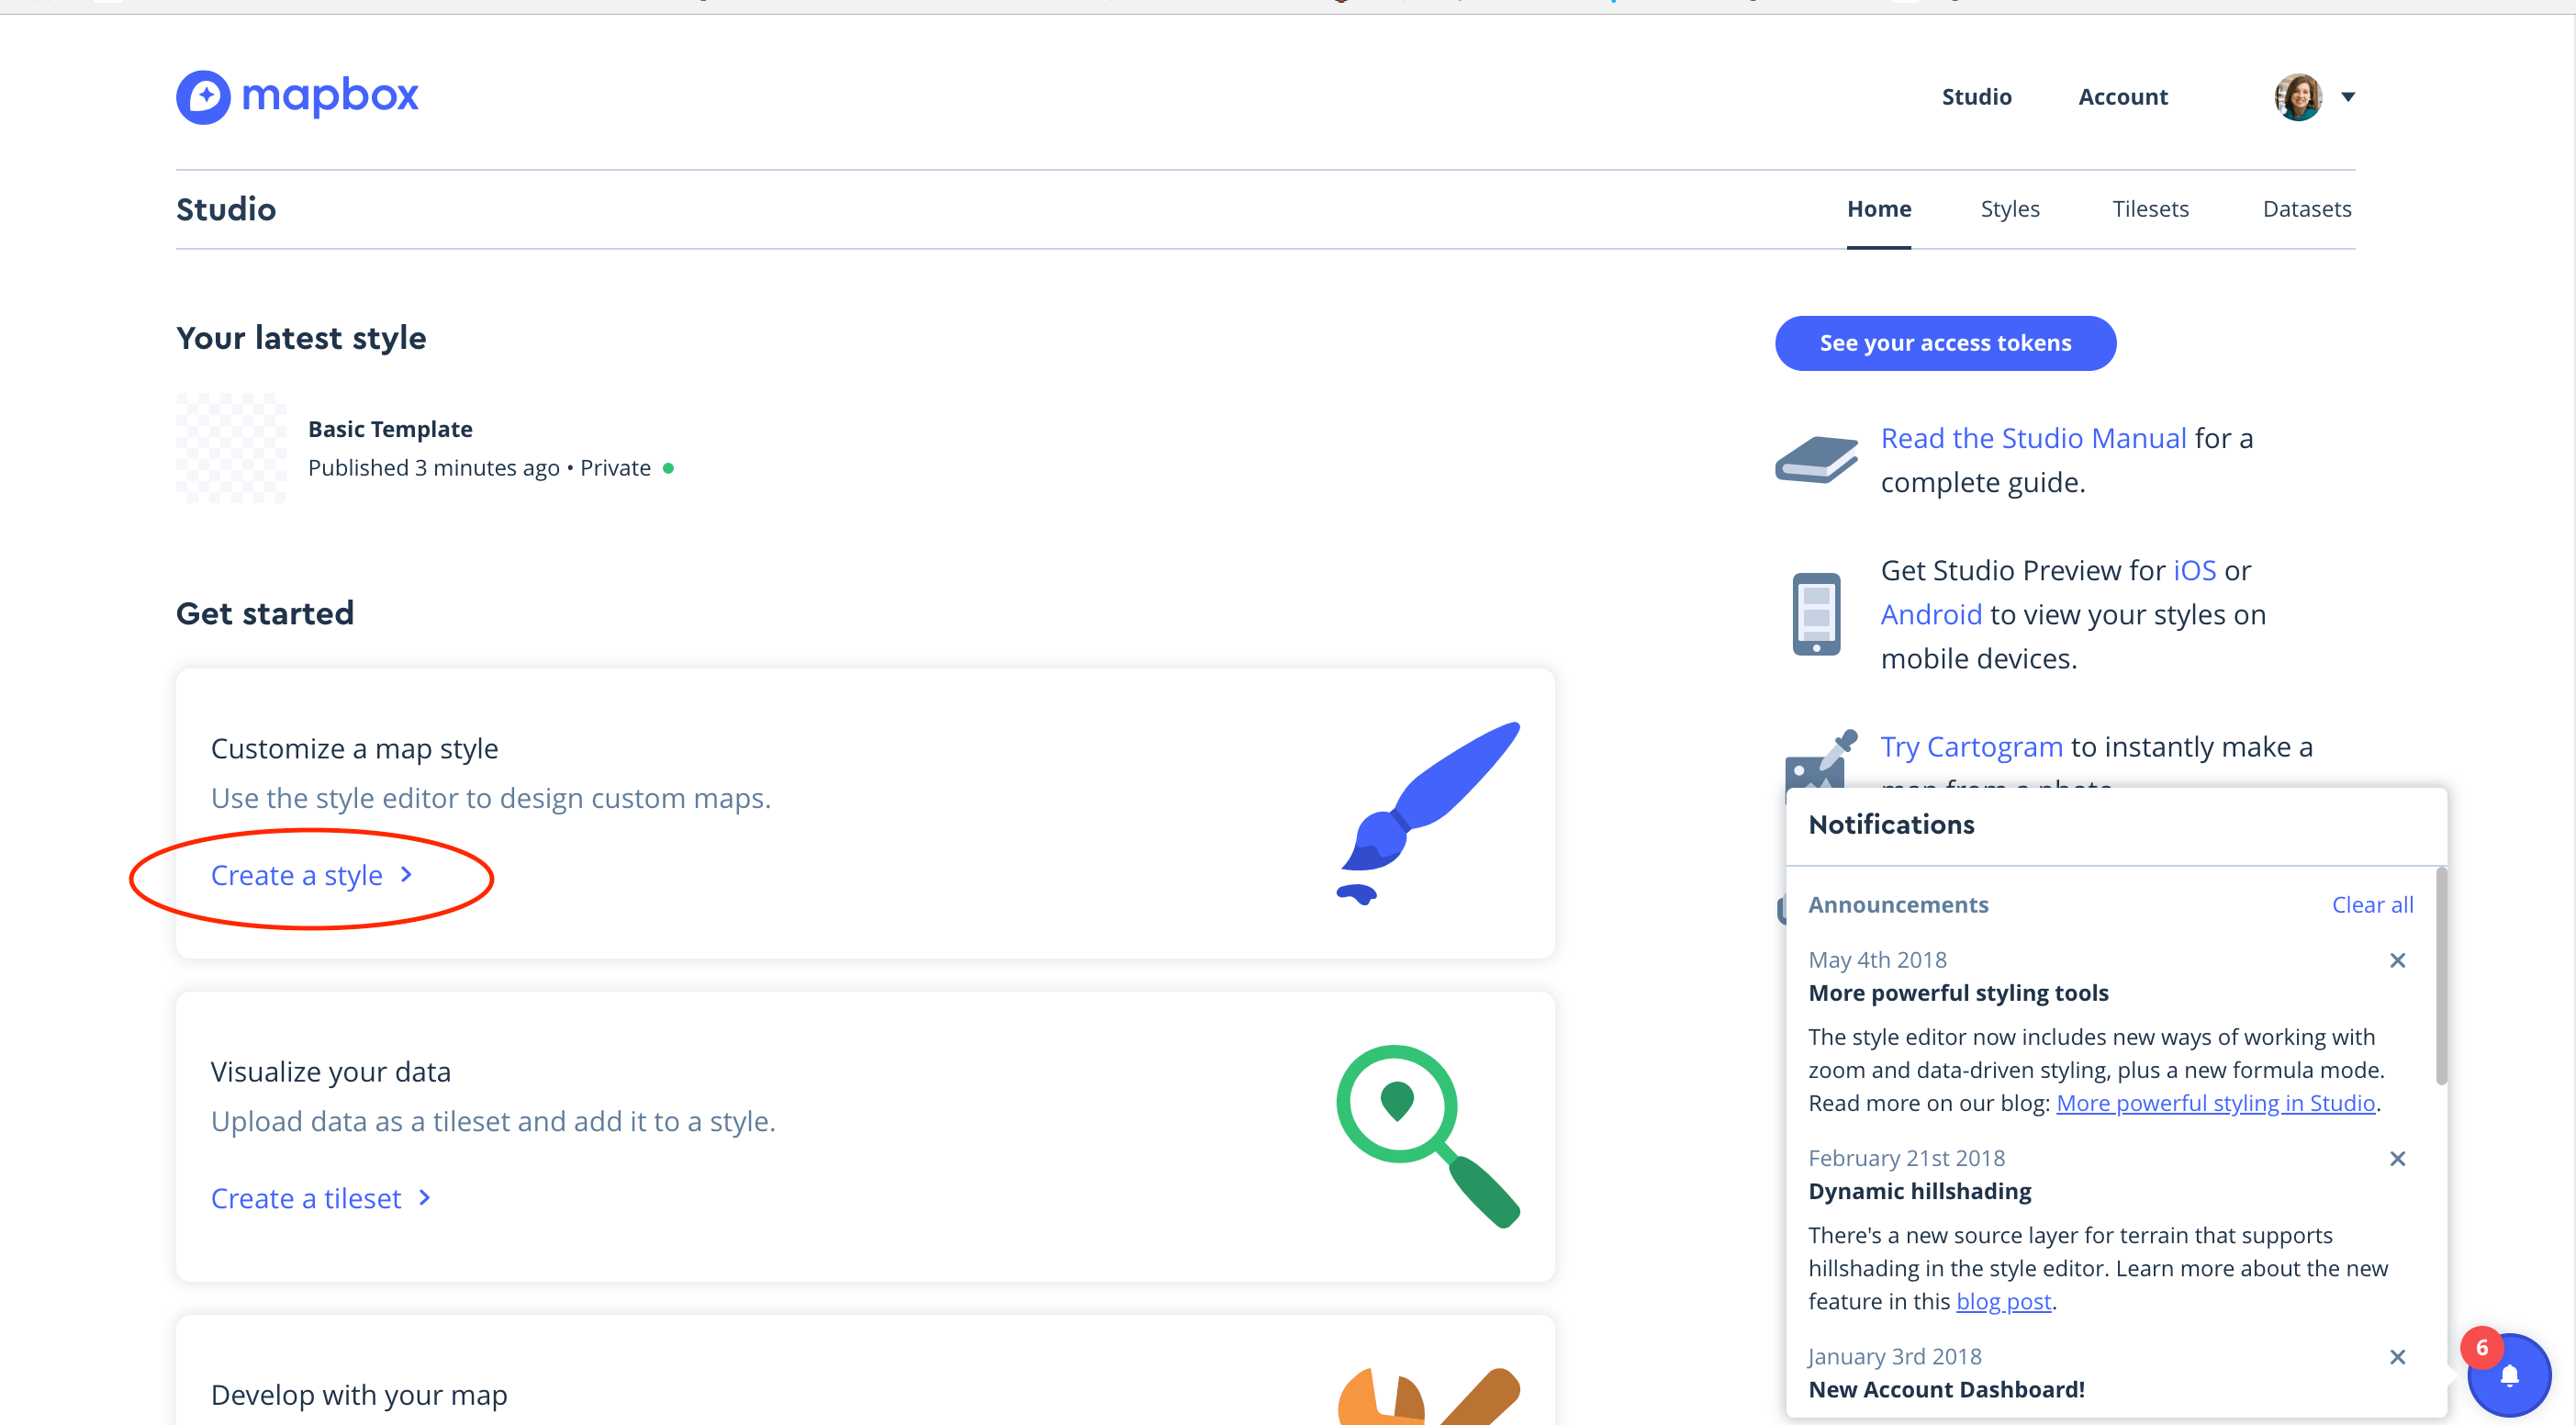
- Login to Mapbox
- On the home screen, under “Get Started,” click “Create a Style”
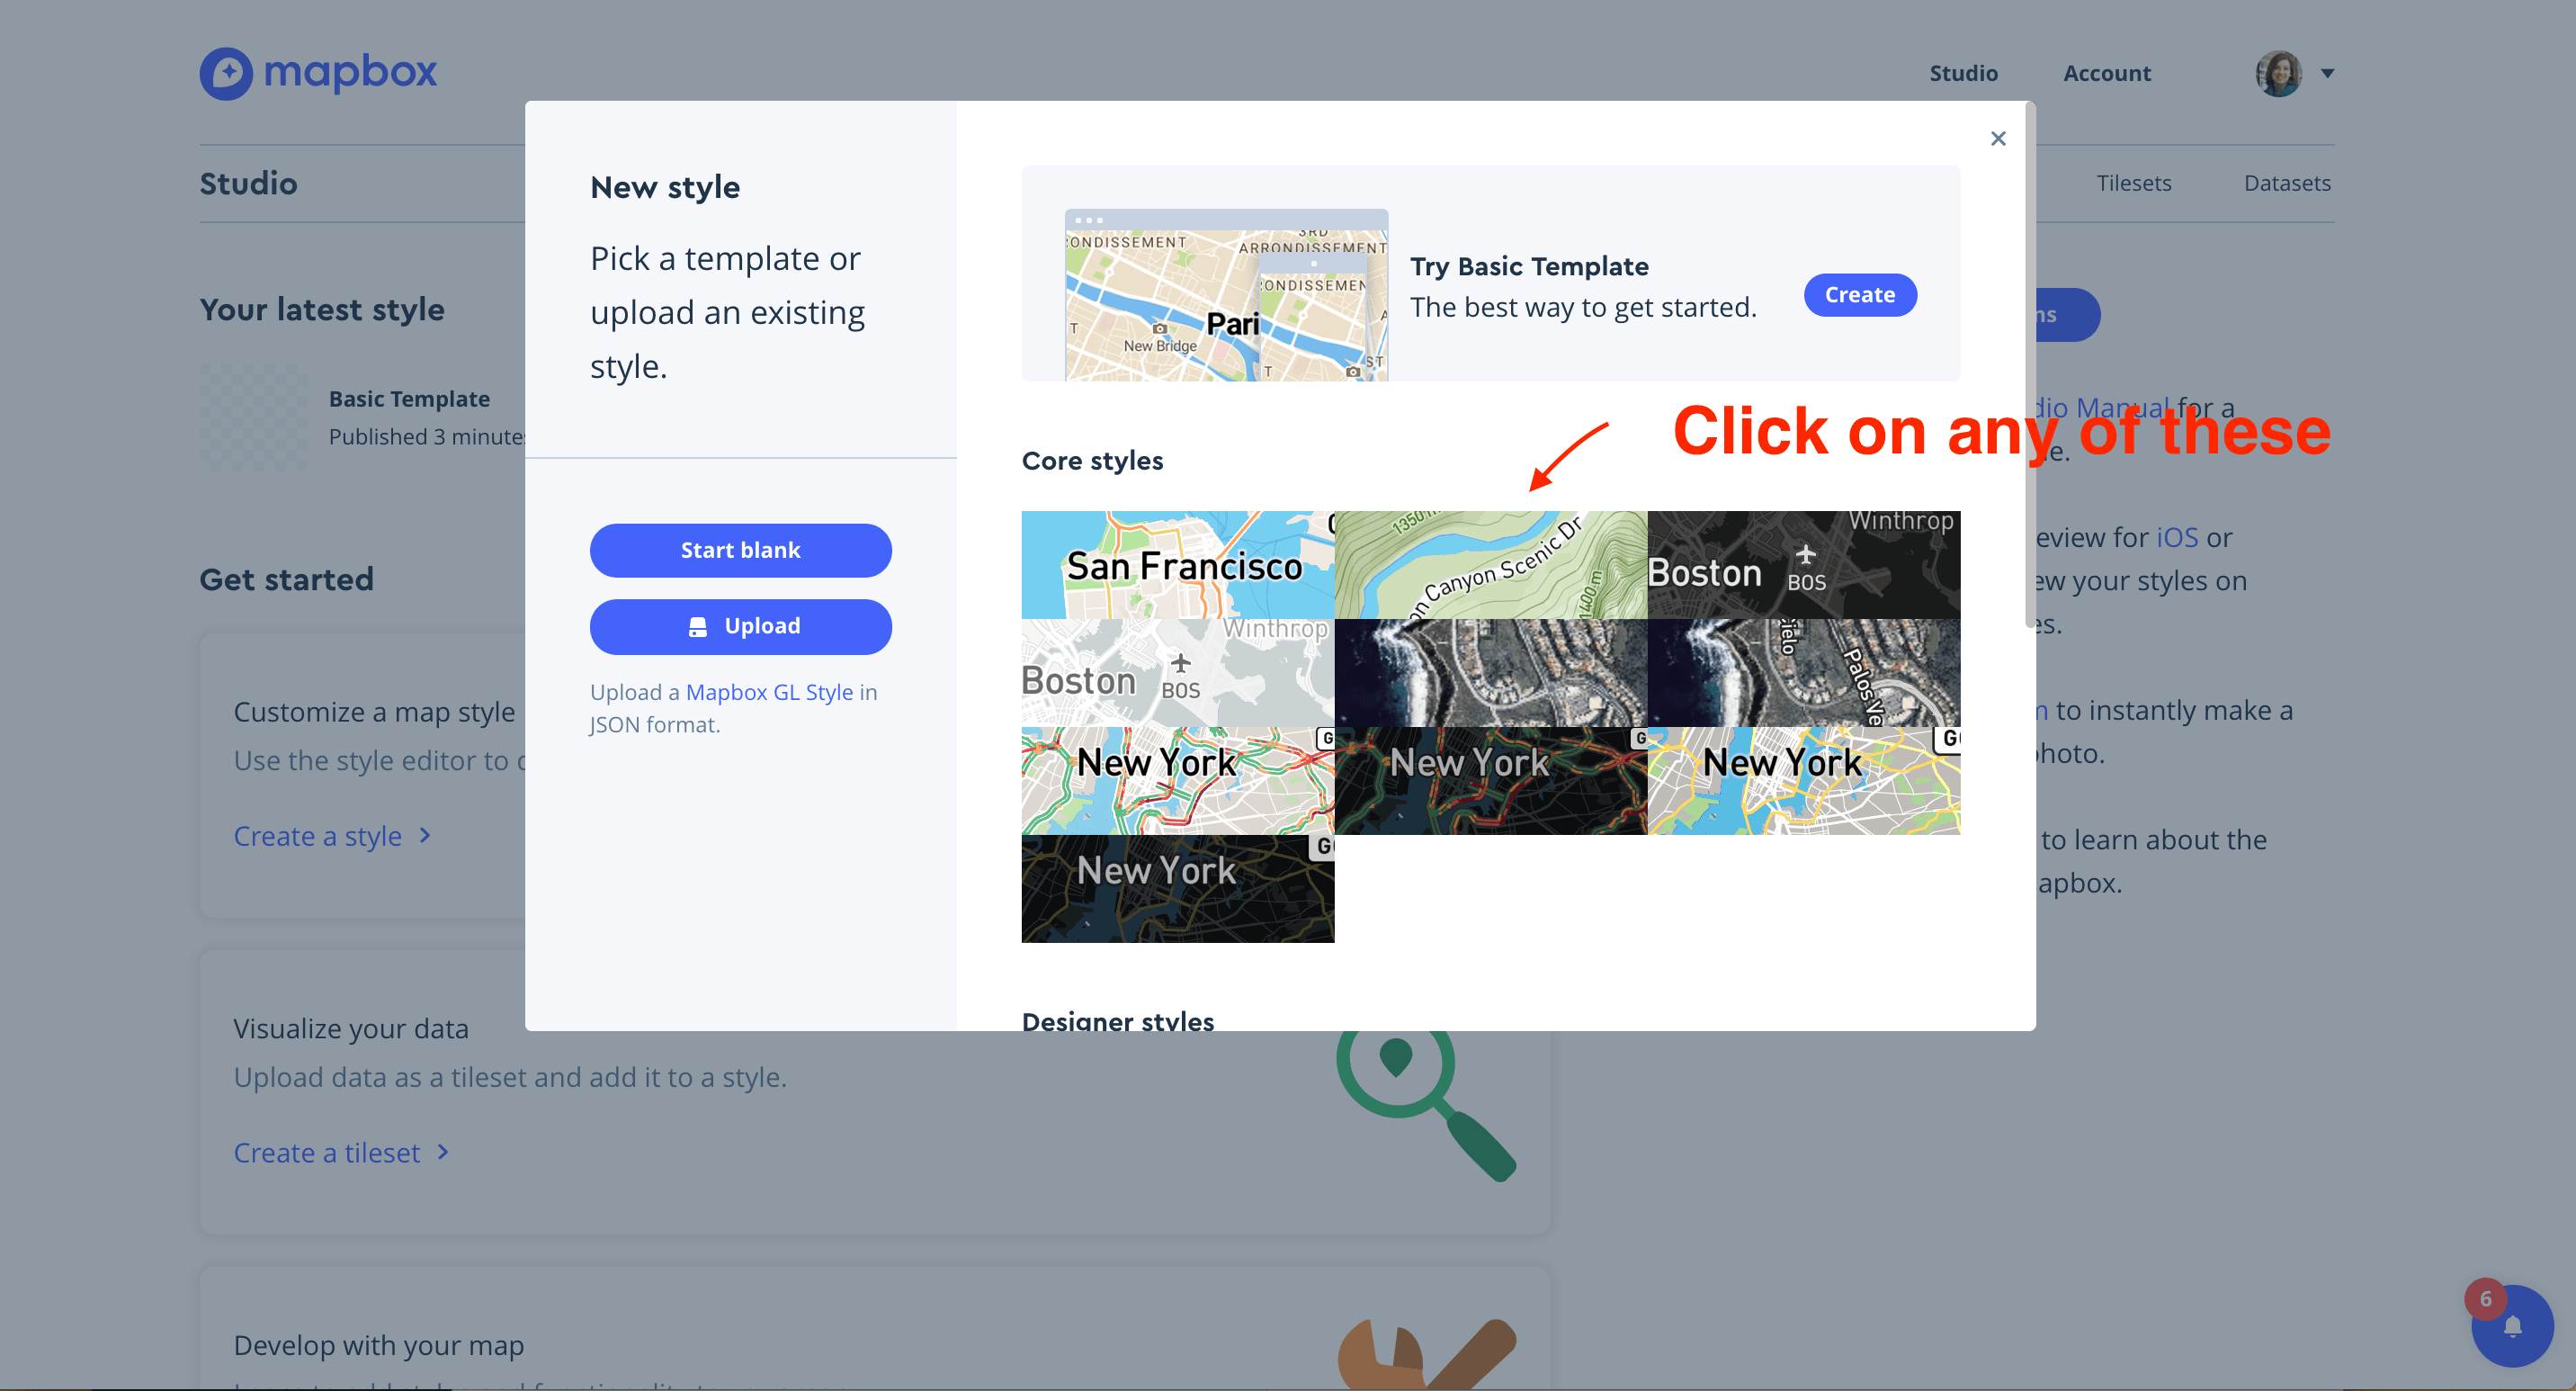
- A modal will display in the middle of the screen with different styles to choose. Select one by clicking on it.
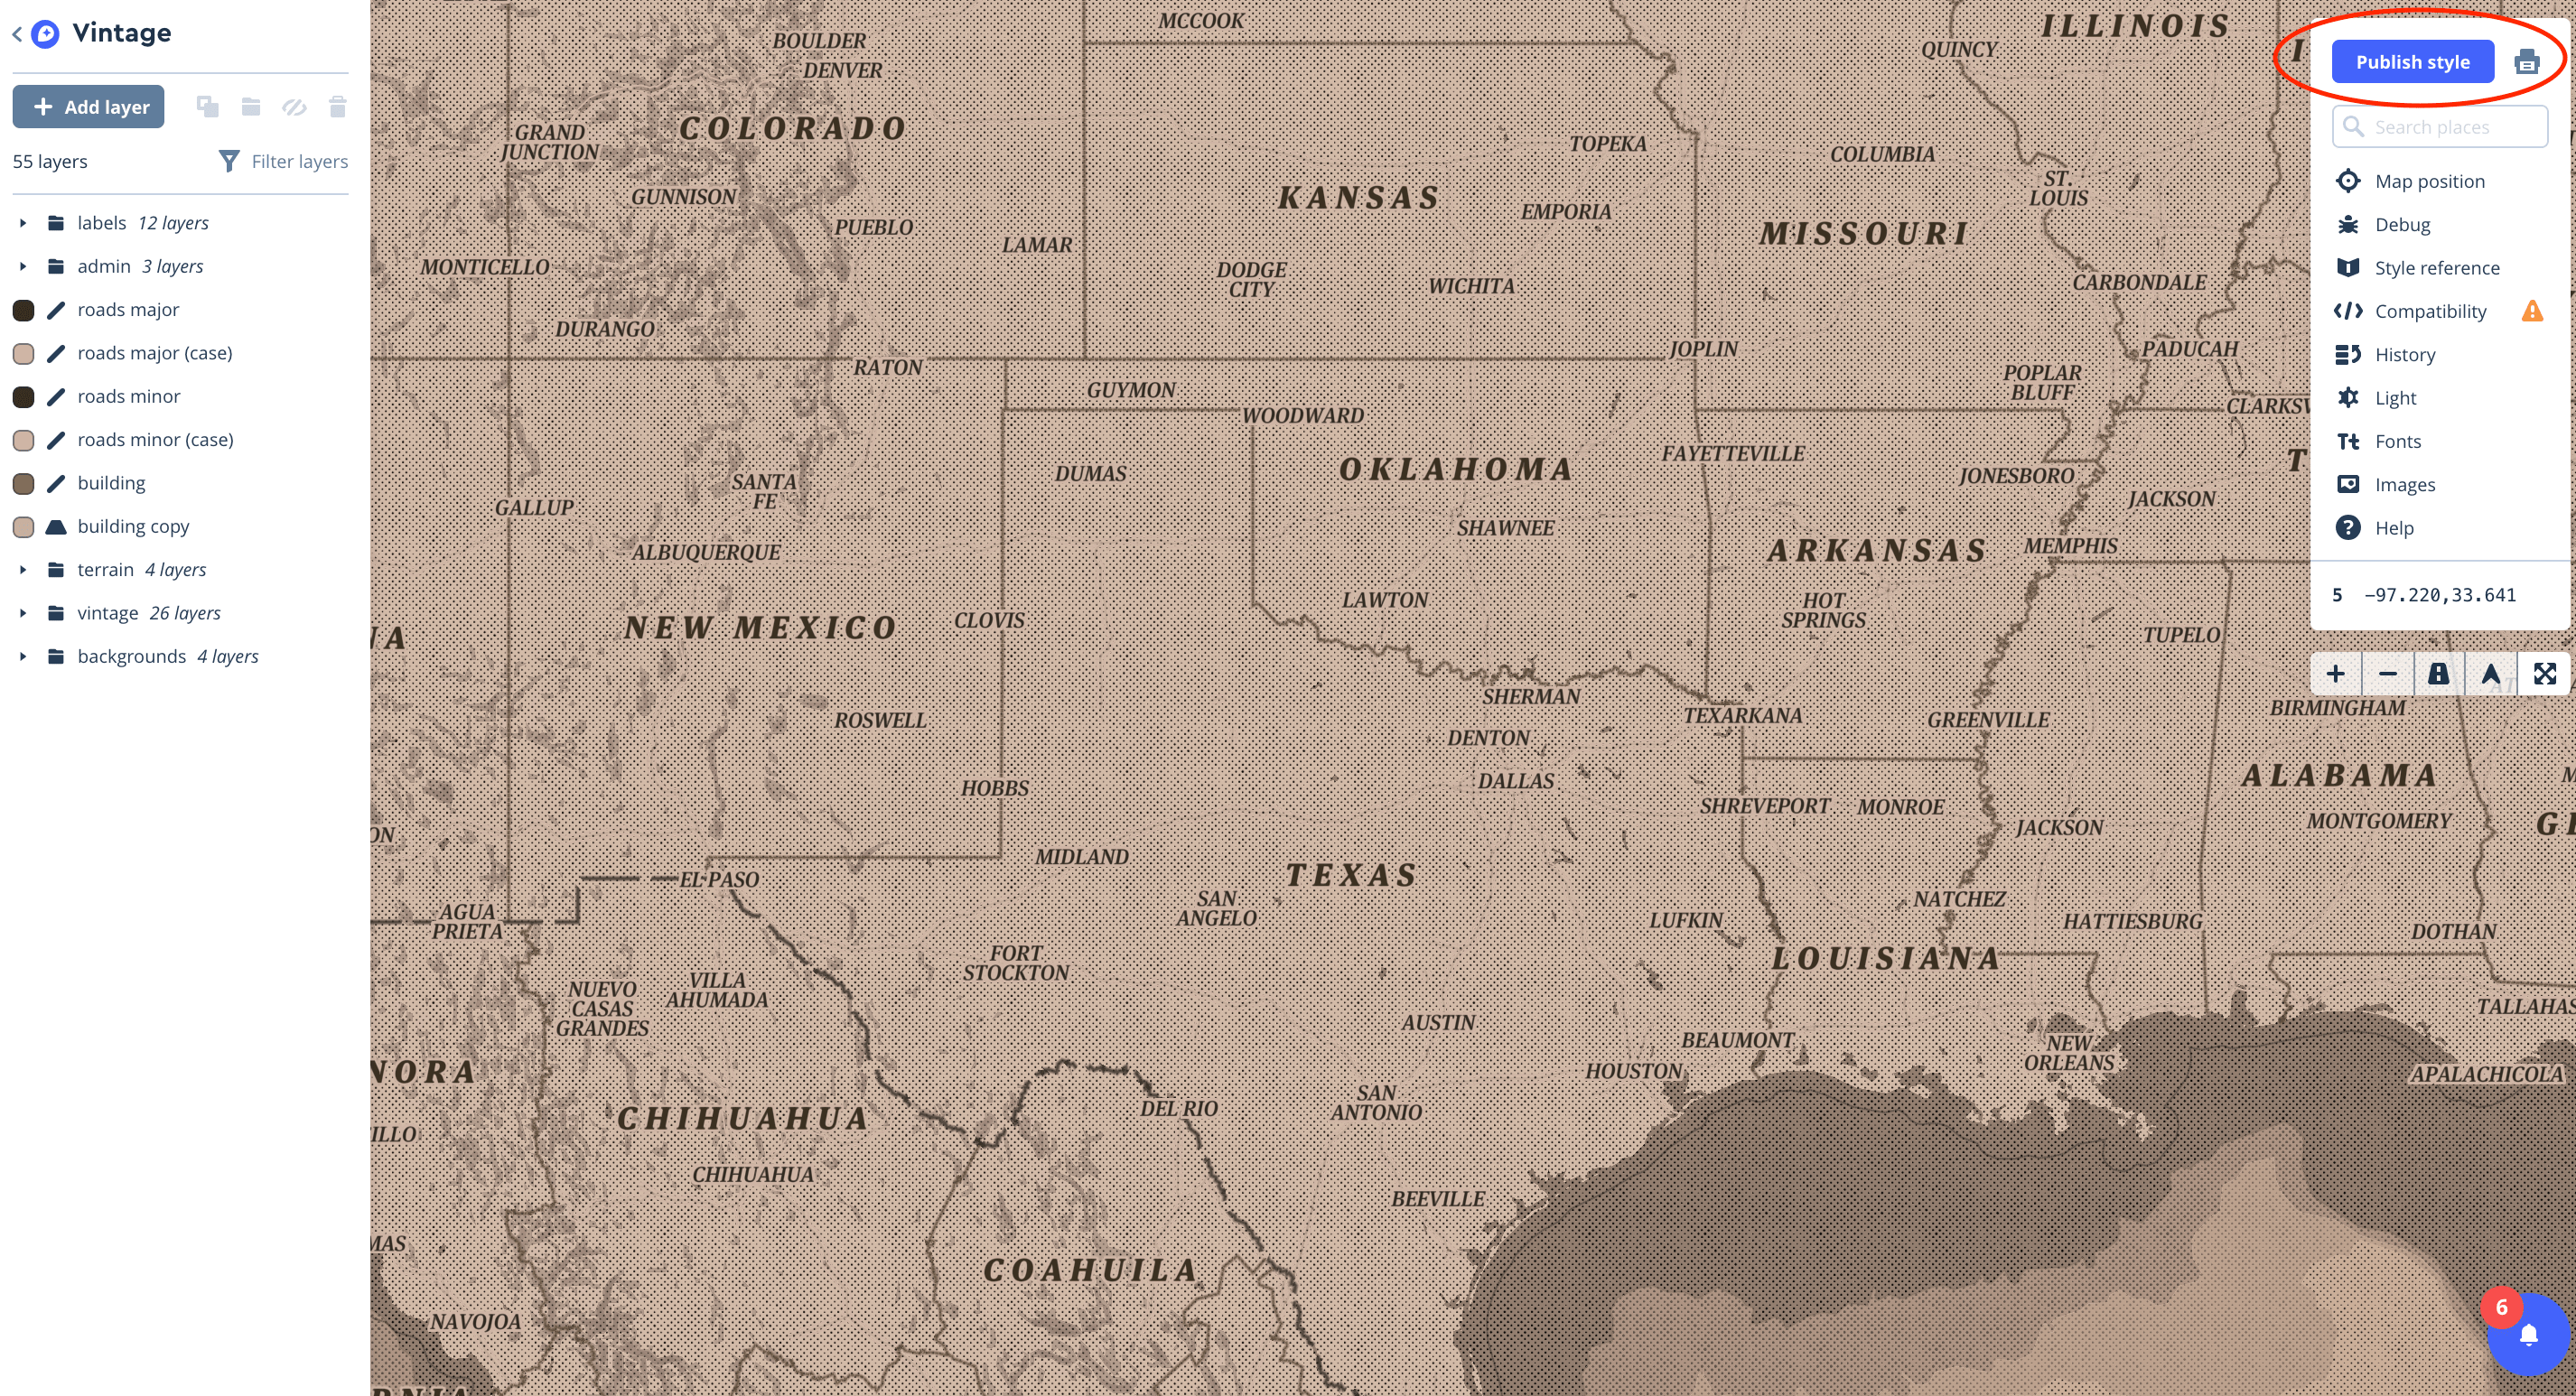
- A preview screen displays with lots of stuff going on.
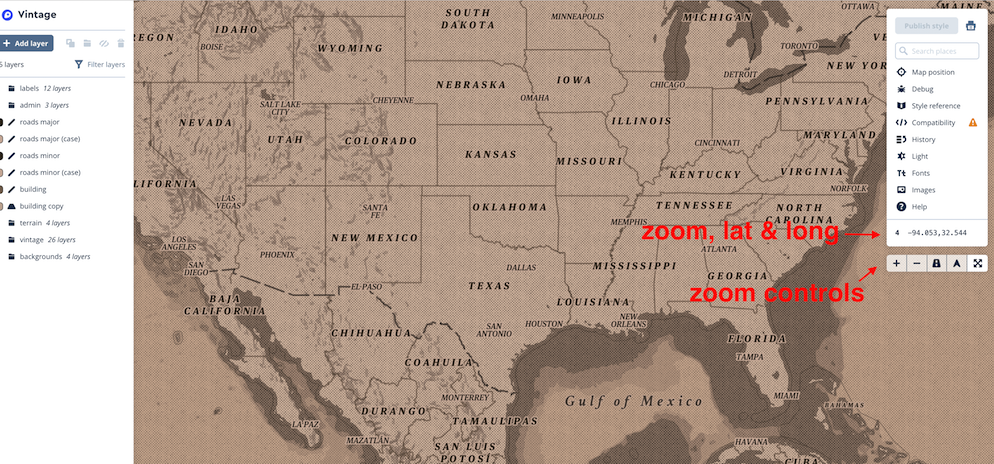
There is a left sidebar that includes details about layers. There is a box on the right that has a button at the top that says “Publish Style.”
If this box is disabled, click “Add layer” in the left sidebar; when another sidebar opens up click “Add Layer” again to disable the new layer.
After this action, the “Publish Style” button should be enabled. On the bottom of the box are 3 numbers. These are the zoom level, and geographical coordinates, longitude, and latitude.
You can use your mouse to drag around the map and you will see the coordinates change. If you use the controls under the right hand box to zoom in or out, you will see the zoom level change. You can also click on “map position” to explicitly set the latitude and longitude and zoom level. If you do not get these perfect, it’s okay you can change them later.

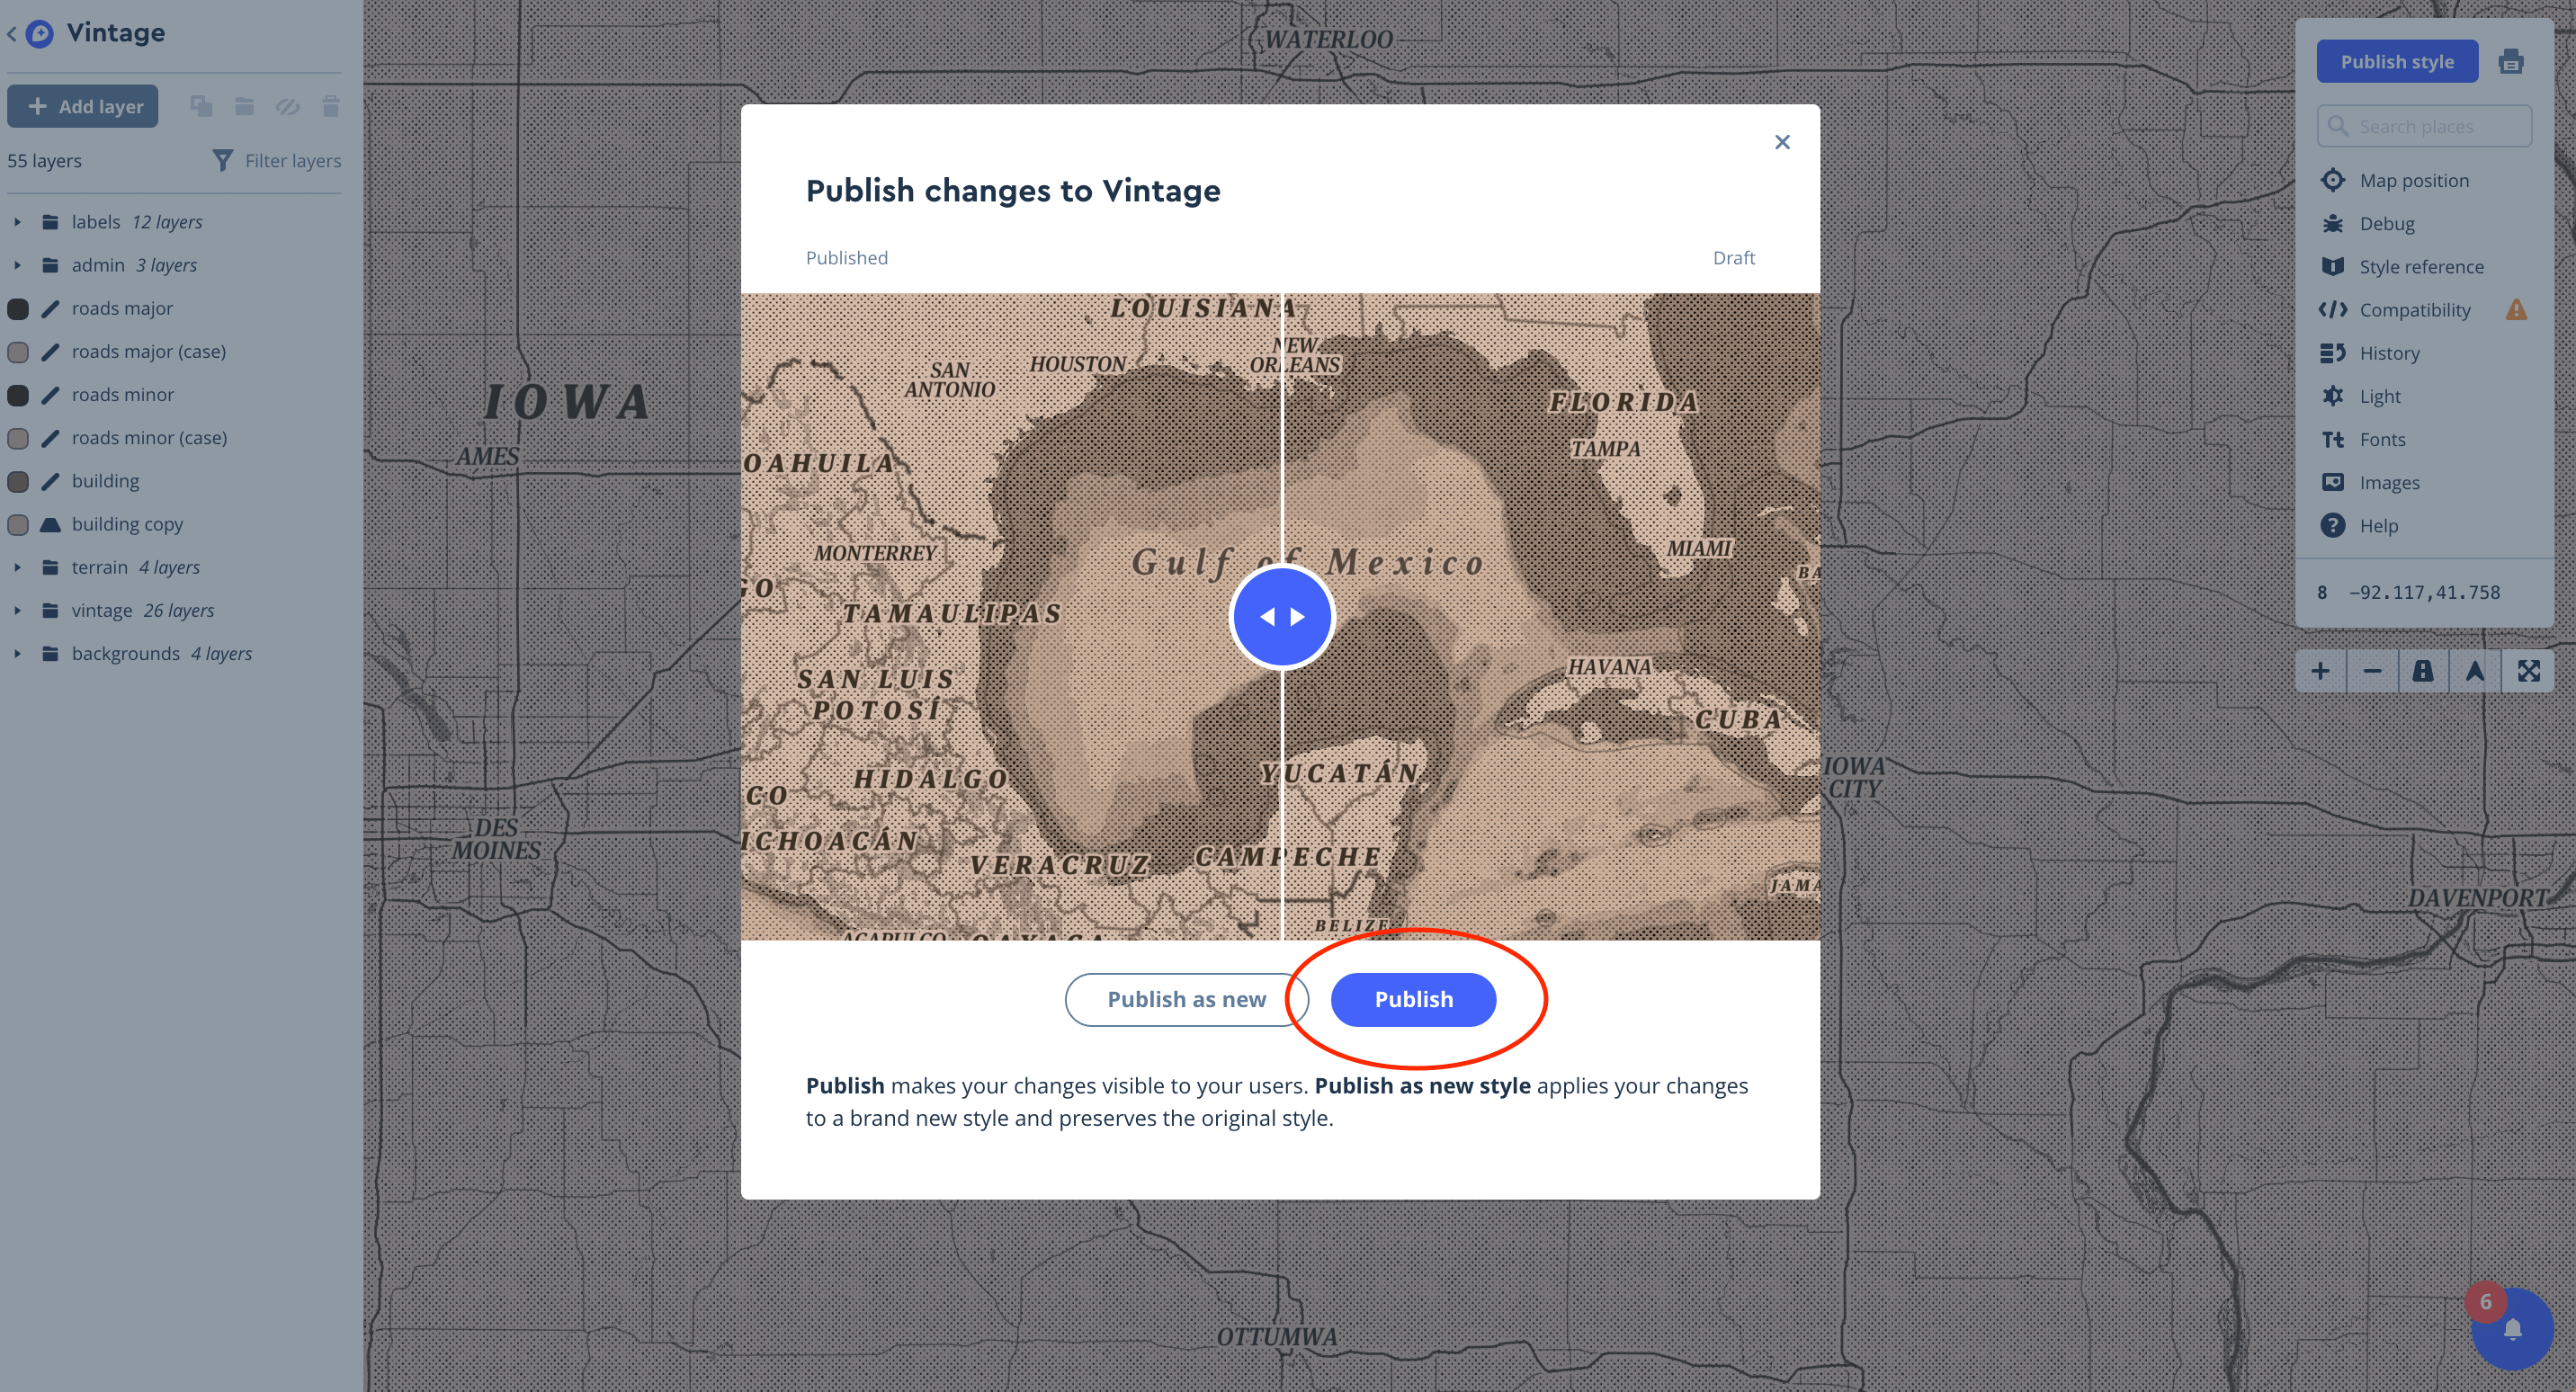
- When you have the map coordinates and zoom level in an okay spot, click publish style
- A modal opens up that allows you to “Publish As New” or “Publish.” Click “Publish”
- A congratulations modal appears, asking you what you’d like to do next. Click “Share Develop and Use Your Style.”
- A style page loads with the name of your style on top.
- Scroll down to a box that says “Develop With This Style”
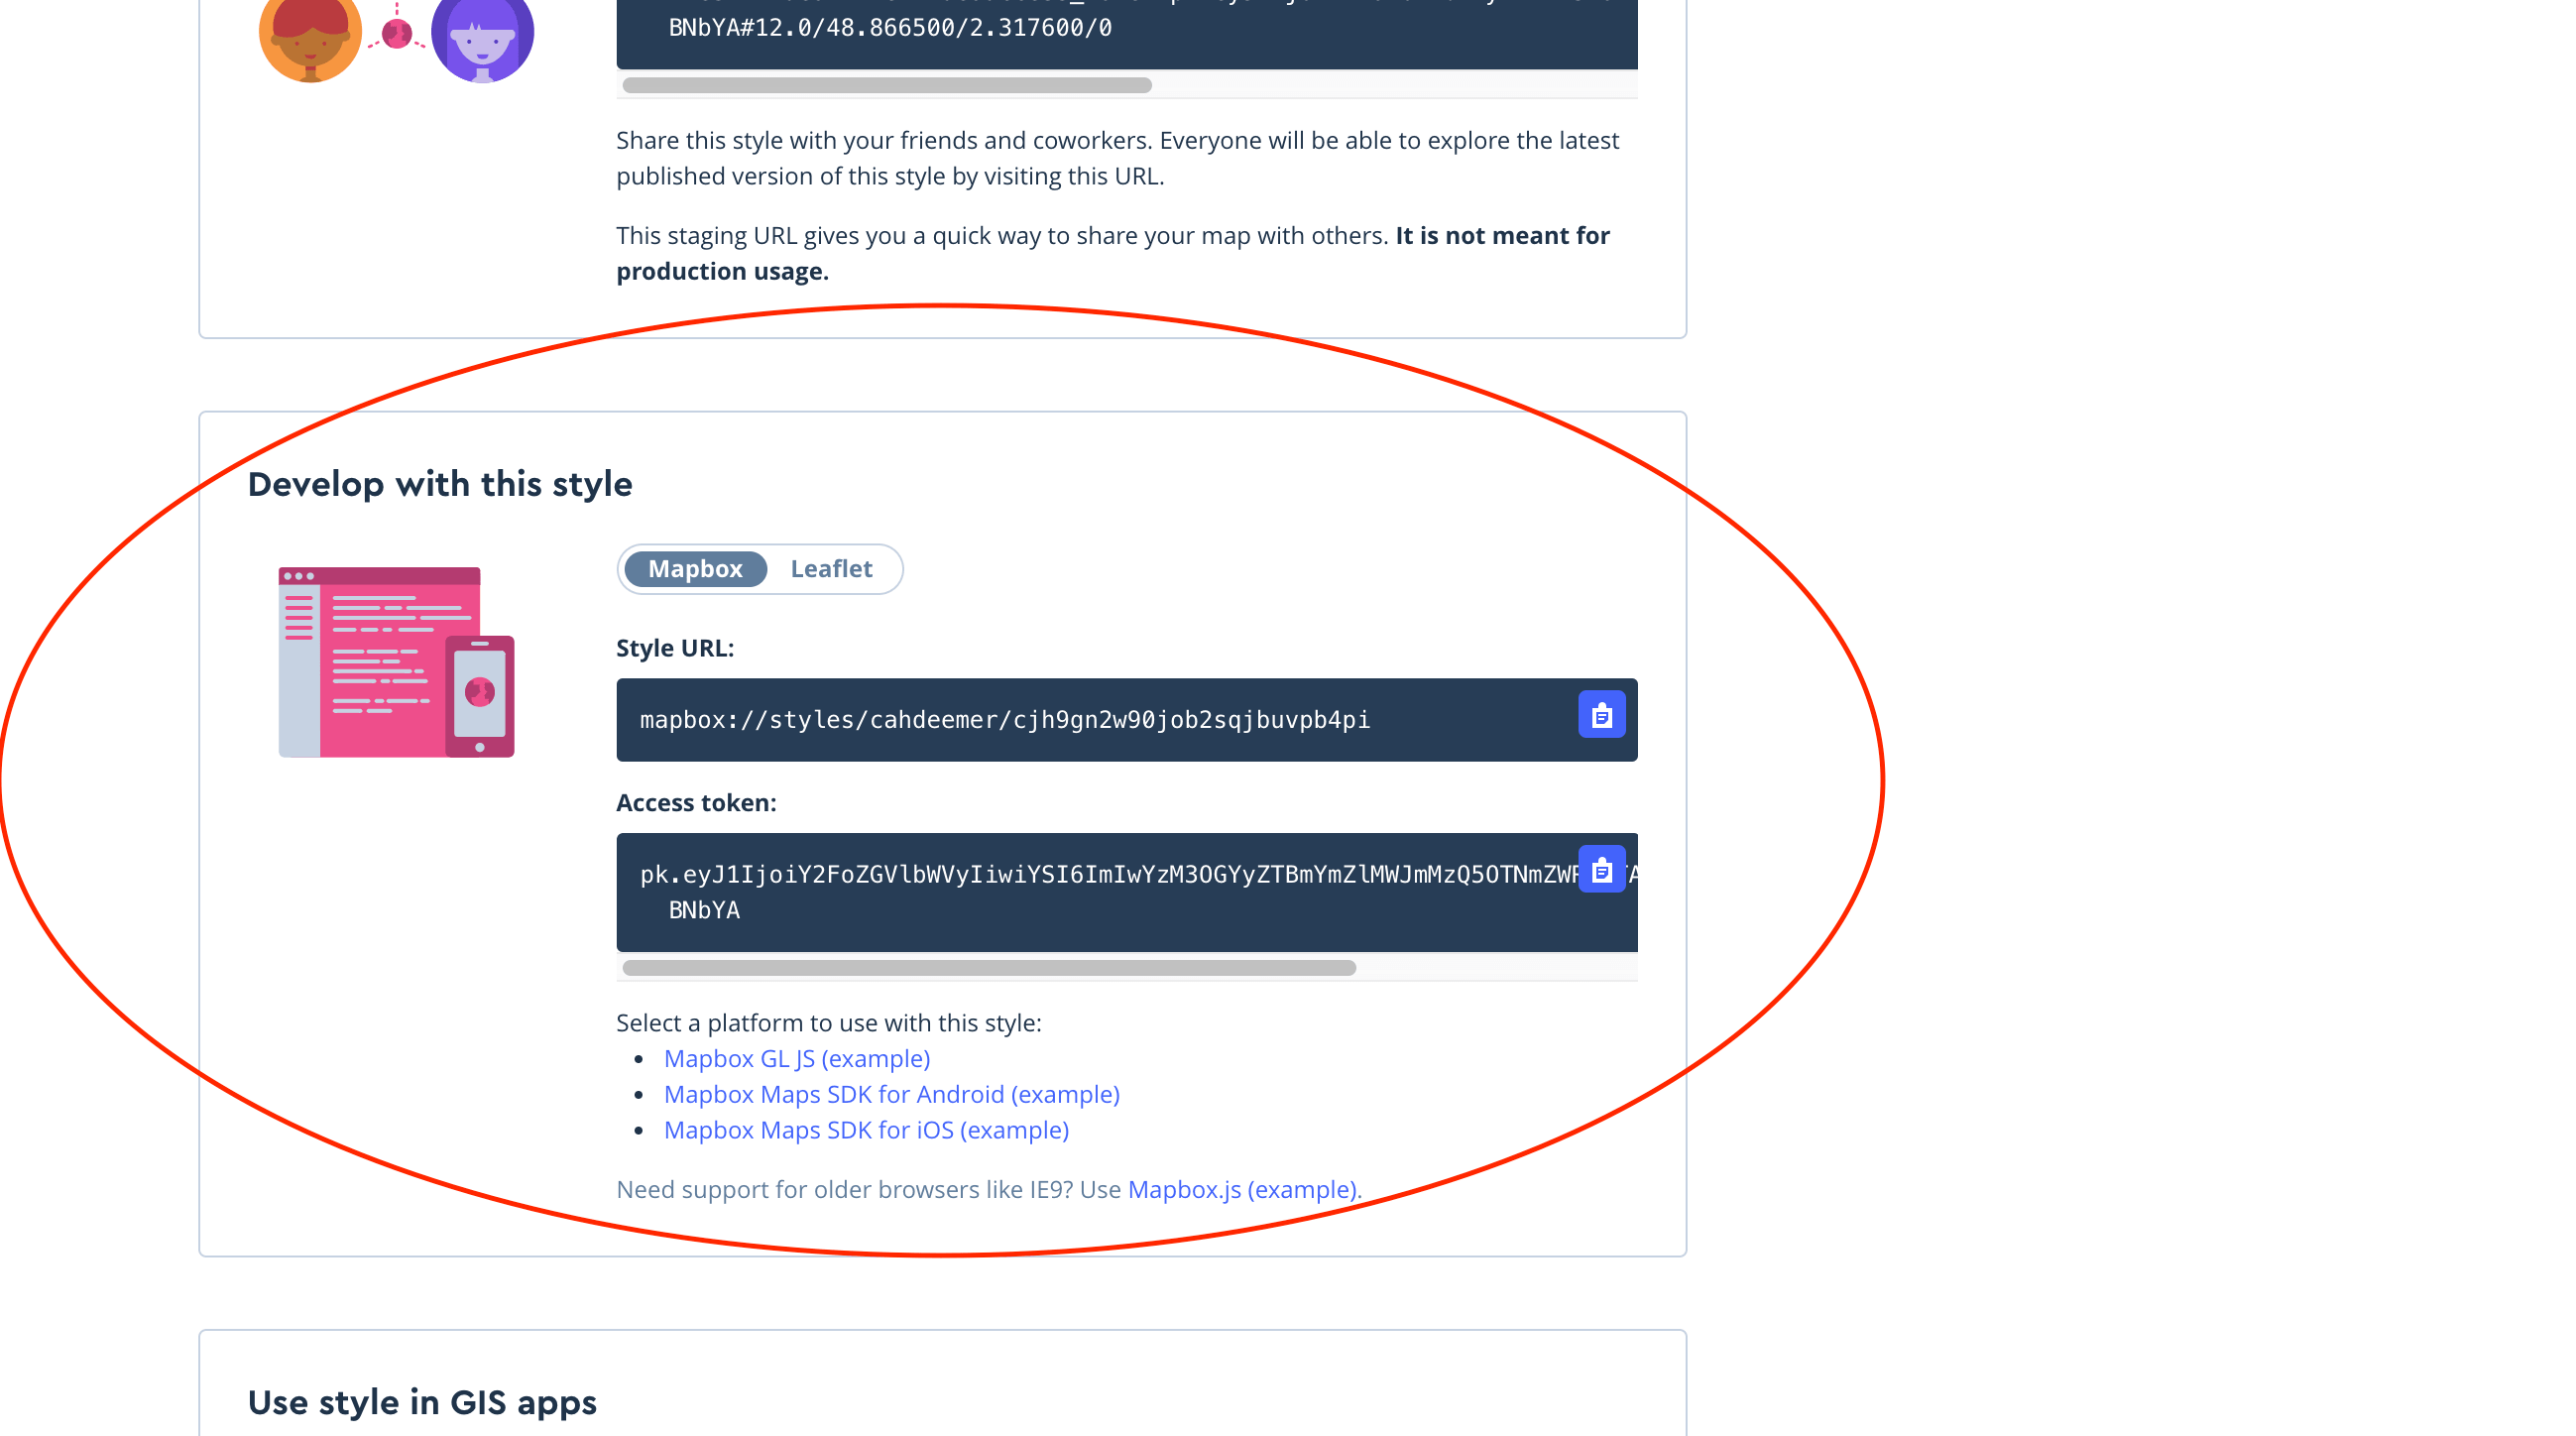
- Click on the word Leaflet inside the “Develop With This Style” box. A Leaflet URL should appear. Copy the link.

Part 2: Integrate Leaflet into your project & Prepare your page
- Go to the Leaflet Quick Start Guide at https://leafletjs.com/examples/quick-start/and follow the instructions under “Preparing Your Page”
- Include Leaflet CSS file in the head section of your document
- Include Leaflet JavaScript file afterLeaflet’s CSS
- Put a div element with a certain id (I like #map) where you want your map to be
- Make sure the map container has a defined height, for example by setting it in CSS
You can look at this CodePen for an example of steps 3 and 4.
Part 3: Add your map style to your page
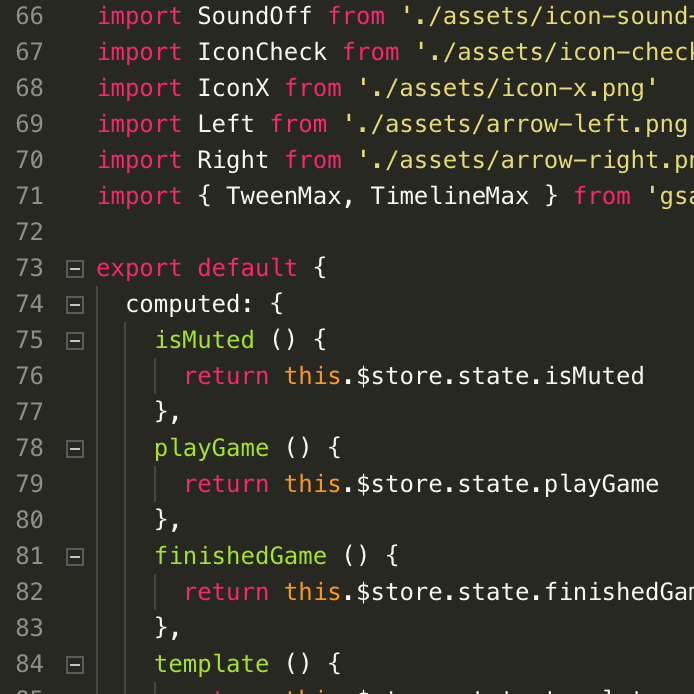
- Inside your JavaScript file, add the line of code highlighted below, replacing ‘mapid’ with the id you assigned to your div element when you followed the instructions in step 3 above. Replace 55.505 and -0.09 with the latitude and longitude for your map and the starting zoom level. Please note that latitude should be first.
var mymap = L.map('mapid').setView([51.505, -0.09], 13);
- Add to main.js file, directly below declaring your mymap variable, add the following code, replacing the URL with the URL you copied from Mapbox.
L.tileLayer('https://api.mapbox.com/styles/v1/[your user name]/cjh9cvenk0r5y2sphcfrds3w4/tiles/256/{z}/{x}/{y}?access_token=[your user token], {
maxZoom: 18
}).addTo(mymap);
Part 3: Add markers to your map
- To add a marker to your map, find the latitude and longitude coordinates for your location and then add those to the following code, replacing the latitude and longitude with your specific coordinates:
var marker = L.marker[41.6611, -91.5302]).addTo(mymap);
- To make multiple markers, repeat the process, but give each marker a distinct name. Examples:
var iowaCity = L.marker([41.6611, -91.5302]).addTo(mymap);
var marion = L.marker([42.0333, -91.5969]).addTo(mymap);
var rochester = L.marker([44.0121, -92.4802]).addTo(mymap);
Part 4: Add popups to markers
- To add popups to each marker, use Leaflet’s “bindPopup” method and add the content of the popup as a parameter. Chain the “openPopup” method to ensure that only one popup opens at a time:
iowaCity.bindPopup("Iowa City - I went to college here!").openPopup();
marion.bindPopup("Marion").openPopup();
rochester.bindPopup("Rochester").openPopup();
Part 5: Congratulations! You made a custom map! Now challenge yourself to take it to the next level.
Can you:
- Change the style of the markers or popup?
- Group markers into layers?
- Incorporate data from a GeoJSON object?
The possibilities with custom maps are endless. I hope you enjoyed making a map with this tutorial.